WordPress Grid Gallery Quick Start Guide
- Menu options
- Overview
- Create a new gallery
- Embed the grid gallery to post, page and theme
- Manage created galleries
You can watch the quick start video below to see how it works.

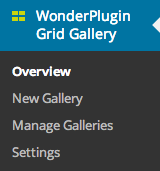
Menu options
After the plugin is installed and activated, it will add a menu tab to the WordPress main navigation menu. There are four items in the menu: Overview, New Gallery, Manage Galleries and Settings.
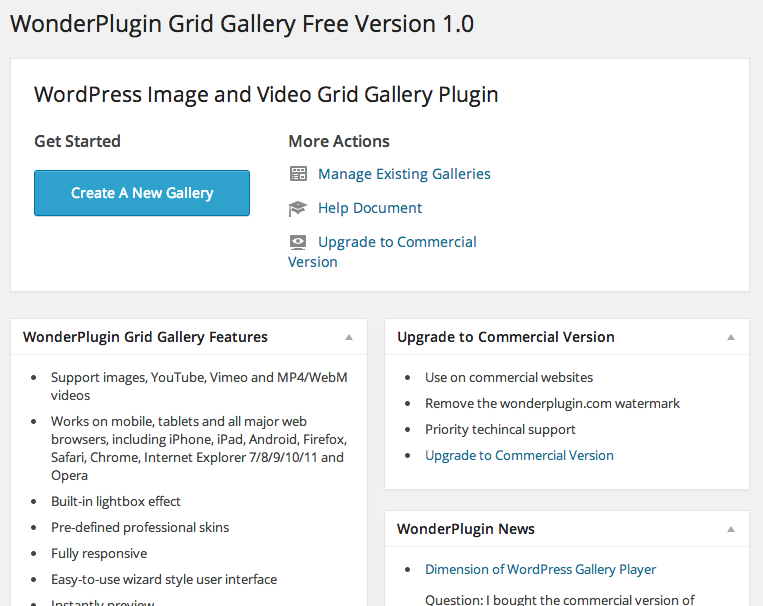
Overview
The overview page displays the links to create a new gallery and manage existing galleries.
Create a new gallery
The gallery editor has a wizard style user interface.
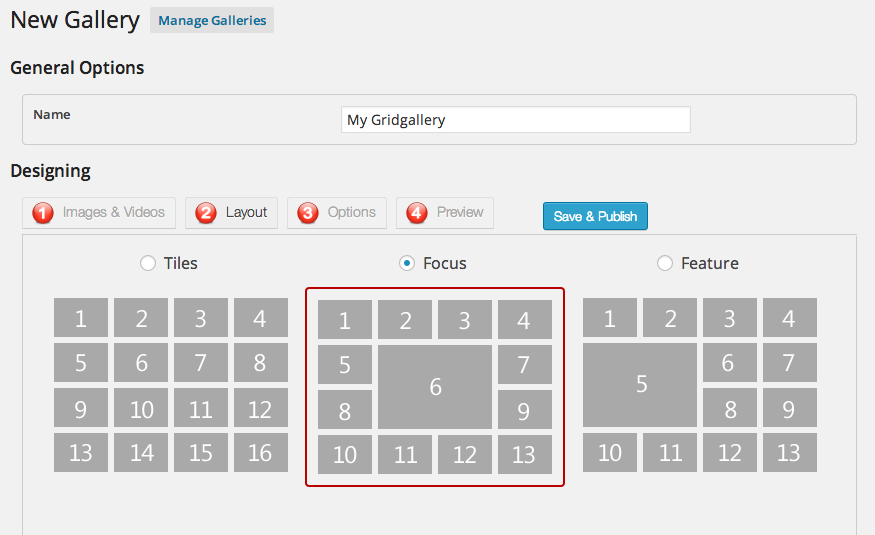
There are four steps to create a gallery.
In the first step, you can select images and videos from WordPress Media Library, add YouTube and Vimeo videos.
In the second step, you can choose a predefined grid layout for your gallery.
The third step is to configure the options of the gallery, for example, you can setup the responsive options, define gap between grid cells, customise the Lightbox effect etc.
You can then preview the gallery instantly in the Preview tab.
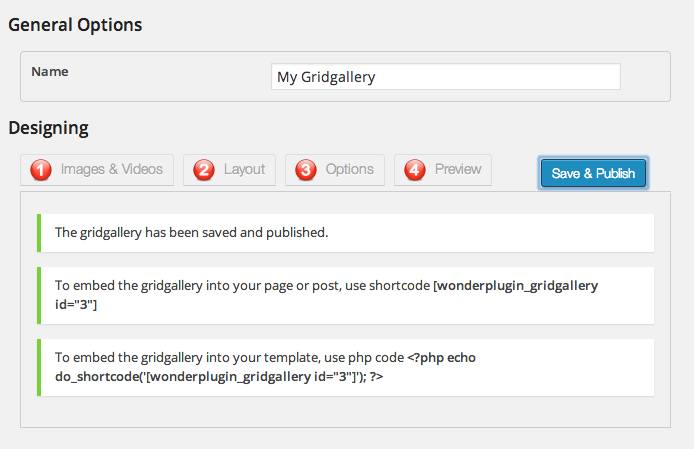
Embed the gallery to post, page and theme
If you are satisfied with the gallery, you can click the Save & Publish button to save it. The plugin will provide a shortcode that you can use to embed the gallery to a post or page. To insert the gallery to your WordPress theme, you can use the provided PHP code.
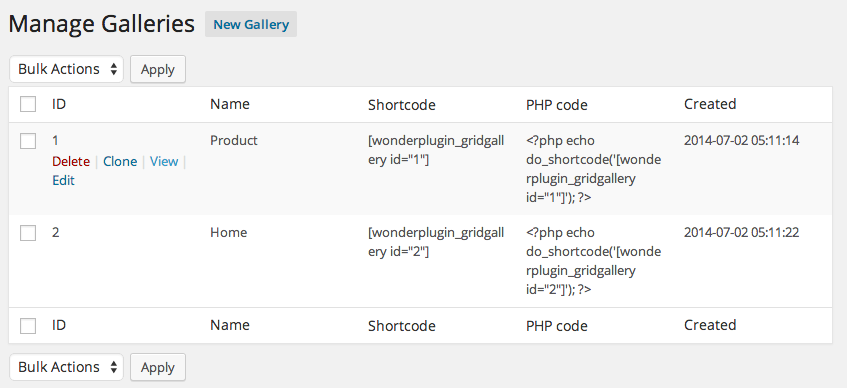
Manage created galleries
The Manage Galleries page will list all existing galleries. You can view, edit and delete a gallery, or clone an existing gallery to create a same new one.