
This tutorial will guide you how to create a Shoutcast live streaming audio player for your WordPress website. The player displays the current song title and the played track list.
There are 5 steps in the tutorials:
- Step 1 - Install Wonder Audio Player
- Step 2 - Prepare Shoutcast Live Streaming URL
- Step 3 - Create an Audio Player to Play the Shoutcast Live Streaming
- Step 4 - Select a Skin for Live Streaming Audio Player
- Step 5 - Publish the player
At the end of this tutorial, we will also discuss the common problems when creating the player.
Step 1 - Install Wonder Audio Player
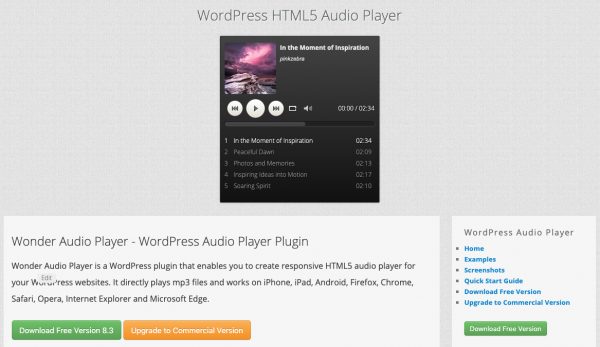
First please install the WordPress plugin Wonder Audio Player. Wonder Audio Player is the best WordPress audio player plugin to create mp3 and live streaming players for WordPress. You can download the free version from the product homepage, try it, make sure it works for you before upgrading to the commercial version.
Step 2 - Prepare Shoutcast Live Streaming URL
Shoutcast live streaming station has a .pls file. The .pls file is a text file that contains a link or links to the audio mp3 streaming URL. You need to download the .pls file, open it with a text editor and copy the streaming URL.
If the streaming URL has a format like:
http://IP:port
You need to add a suffix ;&type=mp3 to the URL and change it to:
http://IP:port/;&type=mp3
You also need to make sure your live streaming is mp3 encoded.
Step 3 - Create an Audio Player to Play the Shoutcast Live Streaming
After you have installed the plugin Wonder Audio Player, in the WordPress backend, left menu, goto Wonder Audio Player -> New Audio Player and create a new audio player.
In the player editor, step 1, Add Audio dialog, enter the Shoutcast streaming URL to the Mp3 URL box and check the option "This is a live streaming". You can also select an image as the cover image of the player.

click to enlarge the image
Step 4 - Select a Skin for Live Streaming Audio Player
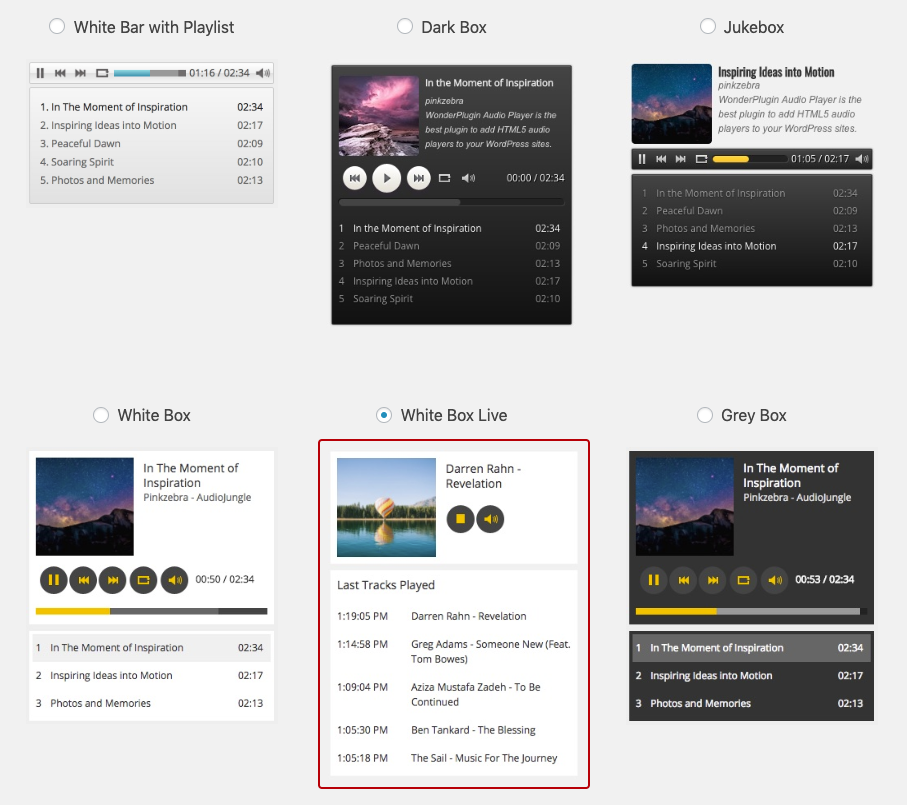
In the plugin, step 2 Skins dialog, select a skin for live streaming audio player, for example, White Box Live or Grey Box Live. If you select other skin, to display the played track list, make sure goto step 3 Options tab, Skin Options, select the option Live Streaming -> Show live streaming played tracks (for Radionomy and Shoutcast).
Step 5 - Publish the player
Click the button "Save & Publish" to publish the audio player, the plugin will display the shortcode and the PHP code snippet of the player.
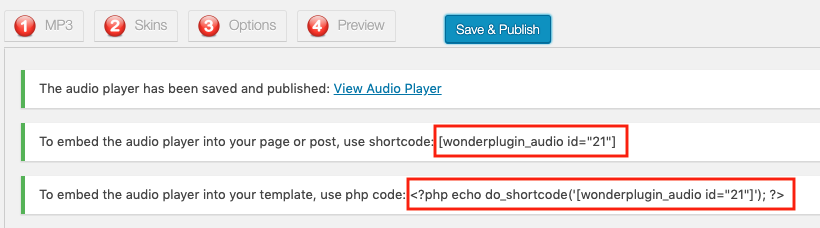
To embed the player to a WordPress page or post, copy the shortcode and paste it to the page or post.
To embed the player to the sidebar, add a Text Widget in sidebar, then enter the shortcode.
Common Problems
1. Not working on Google Chrome
Google Chrome has recently announced the following change: https://blog.chromium.org/2019/10/no-more-mixed-messages-about-https.html
If your website is https secure protocol and your streaming URL is http non-secure, Google Chrome will not play your streaming URL.
To fix the problem, you need to either change your website to http:// protocol, or upgrade your live streaming server to support https:// protocol.
To test whether your streaming server support https:// protocol, you can change your streaming URL from http:// to https://, then open it with your web browser and check whether it works or not.
For Shoutcast streaming, to support https:// URL, please contact Shoutcast and upgrade the streaming server.
2. Player does not display the current song title and played track list
In Wonder Audio Player, edit the player, in step 3 Options tab, Skin Options, make sure the option Live Streaming -> Show live streaming played tracks (for Radionomy and Shoutcast) has been selected.
If the option is selected, but the player still does not display the song title and track list, it's normally because your web hosting has blocked the network connection from the web server to the Shoutcast stream history page (the History page of your Shoutcast stream server).
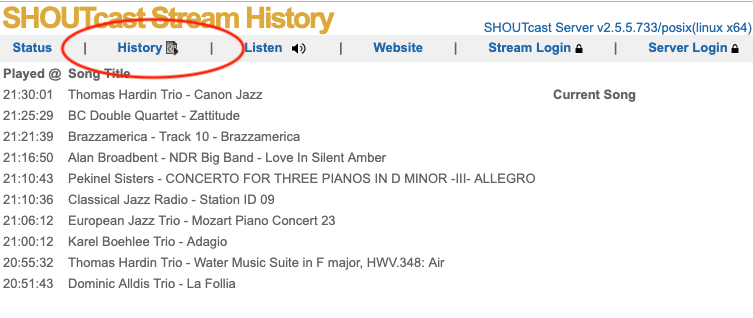
Shoutcast stream history page - click to enlarge the image
The web address URL of a Shoutcast steam server normally looks like http://YOUR-SHOUTCAST-SERVER.com:PORT. Since most Shoutcast server does not use the default port 80, it is very likely the connection is blocked on a shared web hosting.
To fix the problem, please contact your web hosting, ask them to check the issue and enable the network connection.
