This tutorial will guide you how to create a WordPress Radionomy live streaming player. The player displays the current song title and the last played tracks.
There are 4 steps in this tutorial:
- Step 1 Install Wonder Audio Player
- Step 2 Create an Audio Player
- Step 3 Select a skin for Live Streaming Player
- Step 4 Publish the player and add the player shortcode to a WordPress page or post
Step 1 Install Wonder Audio Player
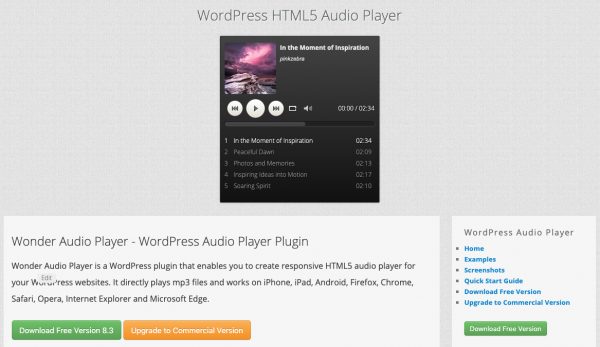
First please install the WordPress plugin Wonder Audio Player. You can download the free version from the product homepage, try it, make sure it works for you before upgrading to the commercial version.
Step 2 Create an Audio Player
After you have installed Wonder Audio Player, in the WordPress backend, left menu, goto Wonder Audio Player -> New Audio Player, create a new player.
In the player editor, step 1, click the button Add Audio, enter the Radionomy streaming URL to the Mp3 URL input box, check the option This is a live streaming.
If you would like to display the played track list, enter the radioUID of the Radionomy station.

Step 3 Select a skin for Live Streaming Player
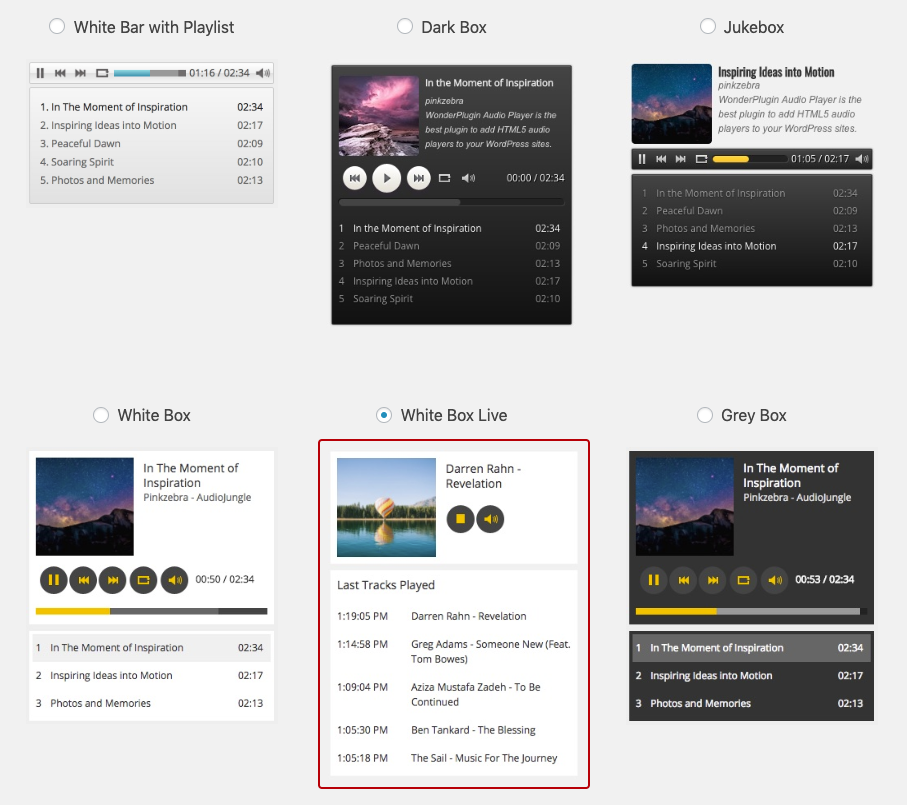
In the player editor, step 2, Skins tab, choose a skin from the skin list. If you would like to display the played track list, choose the skin "White Box Live" or "Grey Box Live". These two skins are created specially for live streaming audio player.
Step 4 Publish the player and add the player shortcode to a WordPress page or post
Click the button Save & Publish to publish the player. The player will display the shortcode and the PHP code snippet of the player.
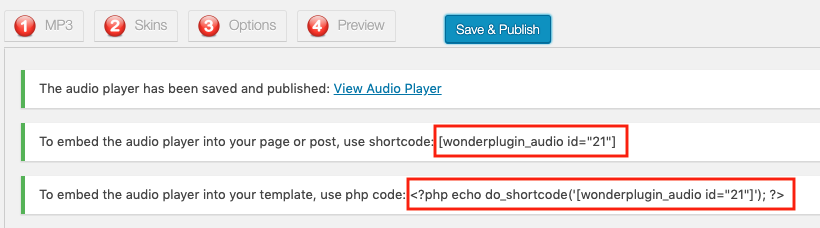
To embed the player to a WordPress page or post, copy the shortcode and paste it to the WordPress page or post editor.
To embed the player in the sidebar, add a Text Widget, then enter the shortcode.
