This tutorial will show you how to create a WordPress self-hosted video gallery and add it to a WordPress post or page.
You can add the video files which are hosted on your own web server and create a video gallery in a few minutes.
There are 3 steps in this tutorial:
- Step 1 - Install Wonder Gallery
- Step 2 - Create a WordPress Video Gallery
- Step 3 - Add WordPress Self-hosted Video Gallery to WordPress Page
At the end of the tutorial, we will create a WordPress self-hosted video gallery as follows:


Step 1 - Install Wonder Gallery
First please install the WordPress premium plugin Wonder Gallery. You can download the free version from the home page, test it, make sure it works for you before upgrading to the commercial version.
Step 2 - Create WordPress video gallery
After you have installed the plugin Wonder Gallery, in your WordPress dashboard, go to the left menu Wonder Gallery > New Gallery, create a new gallery.
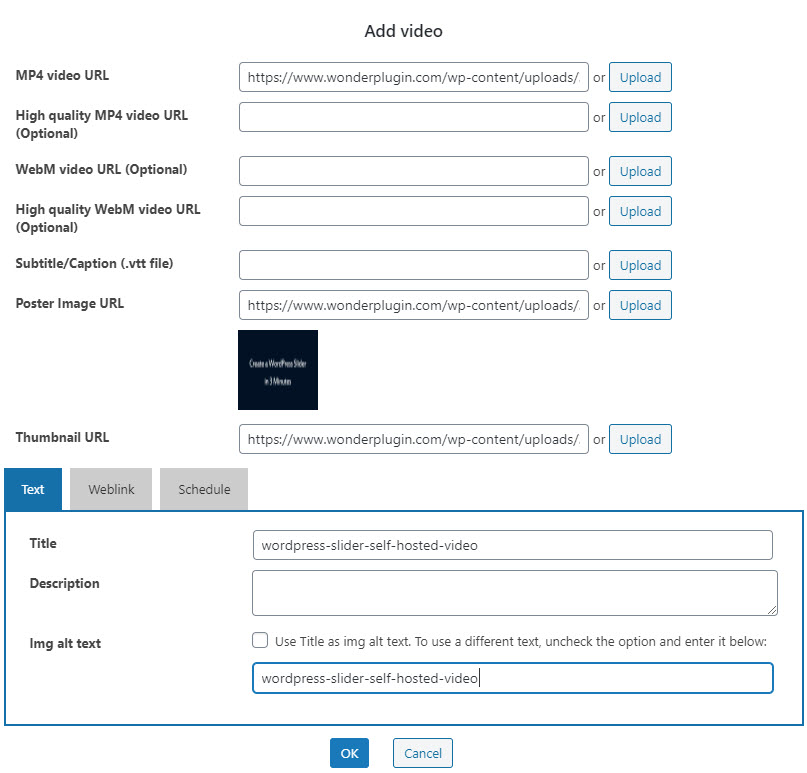
In the Gallery editor, step 1 > Images & Videos, click the button Add Video, then enter the MP4 video URL and Poster Image URL. You can also enter title, description and image alt text for the video.
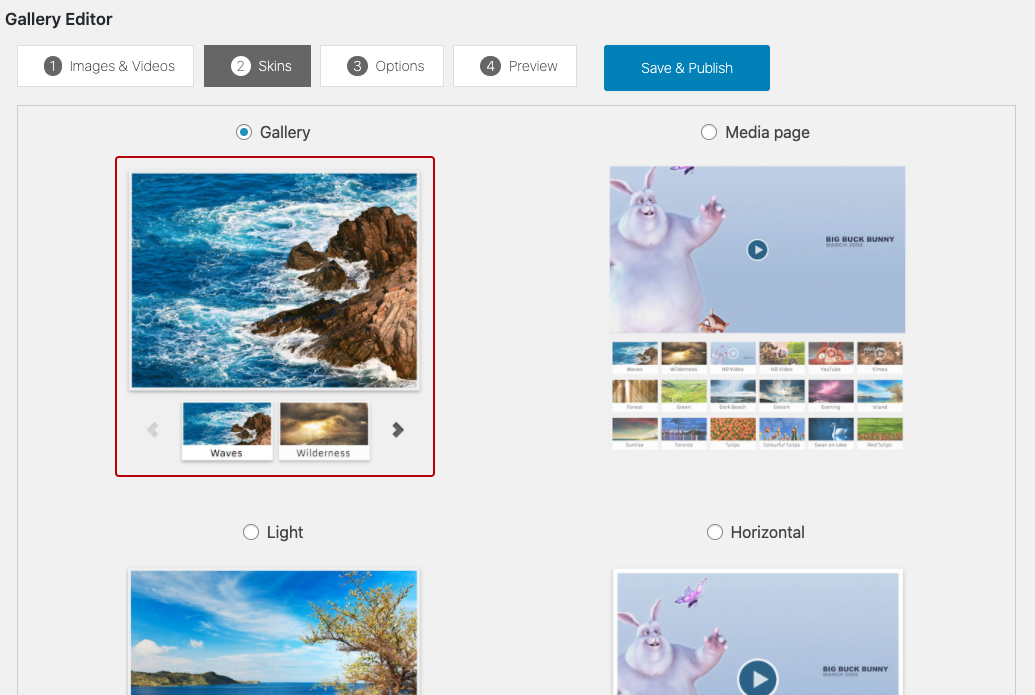
In the gallery editor, step 2 > Skins, select a skin.
Step 3 - Add WordPress self-hosted video gallery to WordPress page
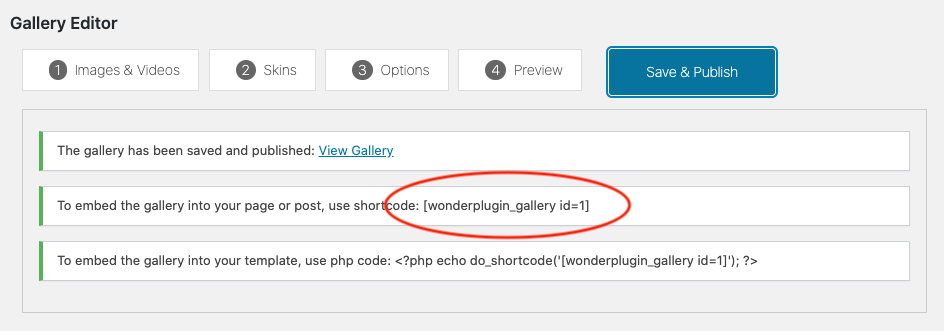
Click the Save & Publish button to publish the gallery, the plugin will generate the gallery shortcode. To add the WordPress video gallery to a WordPress page, copy the generated shortcode and add it to the page editor.
If your video does not play or does not play properly, in most cases, it's because the video file is not HTML5 compatible. You can view this tutorial for how to convert the video file: How to convert video to HTML5 compatible MP4 format.
If you prefer a grid gallery without thumbnails you can try our another plugin Wonder Grid Gallery.