Question:
I have a website in progress, I used Wonderplugin for WordPress and as I came across on the development, I cannot get it working.
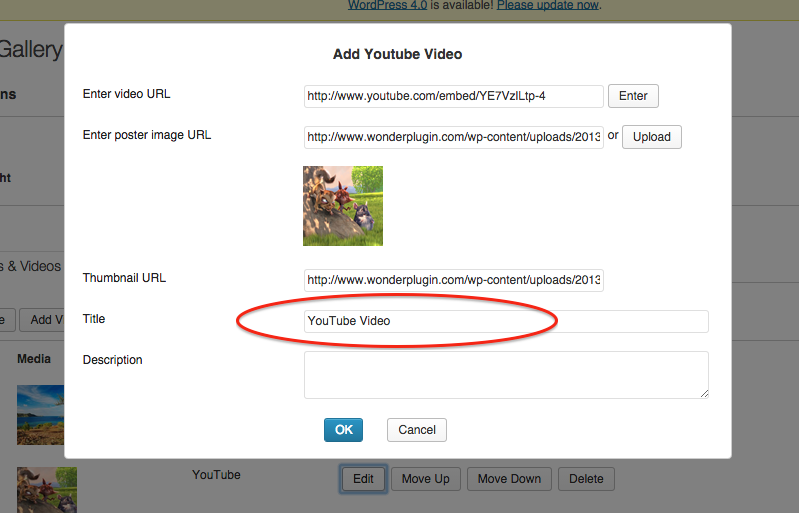
I already uploaded images and configured everything on WordPress.
I also copied the shortcode to the php page that I am working on. But the carousel does not show up.
Answer:
Normally this problem is that there are multiple jQuery files added to your WordPress.
You can view the HTML source code of your webpage, and check how many jQuery are added in your website. In Google Chrome, you can view the HTML source code with menu View -> Developer -> View Source, then search text "jquery" in the source code.
There should be only one jQuery in the webpage, which is added by the WordPress system.
Some plugins add their own jQuery to the website, and this is not correct. A plugin should always use the system installed jQuery, and the js files added from a plugin will be added after the system jQuery.
A jQuery will destroy all other jQuery functions that are added before it. So if a plugin adds its own jQuery, it may destroy other jQuery functions.
To fix the issue:
In the plugin, Setting menu, you can try to check the option "Add plugin js scripts to the footer". This option will place the plugin js file to the footer and will fix the problem in most cases.
If the above option is not working, you can try to disable all other plugins and see whether the WonderPlugin works. If it works, you can then enable the plugins one by one, and find the plugin that has caused the problem.
If WonderPlugin is still not working after you have disabled all other plugins, then the extra jQuery may have been added manually to the theme or the page, you need to find the code and remove it.